Getting Started
Command-line Application
Make sure you have PHP 7.2+ and Composer installed on your system.
Step 1: Run composer to create a new project from our example:
composer create-project symlex/stream-sampler myapp
Composer will ask for config values to generate app/config/parameters.yml for you.
Step 2: Use app/console to execute commands:
cd myapp
app/console sample -i internal -s 10
YAML files located in app/config configure the app based on parameters and services.
The main config file is app/config/console.yml.
Repository: https://github.com/symlex/stream-sampler
Web Applications
Before you start, make sure you have PHP 7.2+, Composer and Docker installed on your system (howto for Mac OS X). Instead of using Docker, you can set up your own runtime environment based on the existing Dockerfile. In addition, you will need a database plus nodejs and npm to build the frontend.
Simple REST API
Step 1: Run composer to create a new project:
composer create-project symlex/rest-api myapp
Composer will ask for config values to generate app/config/parameters.yml for you.
Make sure storage/cache is writable so that cache files can be created by the app.
Step 2: Start NGINX and PHP using docker-compose:
cd myapp
docker-compose up
Step 3: Open http://localhost:8088/example/123 in a browser (source).
To open a terminal, run docker-compose exec php sh.
YAML files located in app/config configure the app based on parameters and services.
The main config file is app/config/rest.yml.
Note
If you add localhost-debug to your /etc/hosts and access the site with that, it will load in debug
mode (you'll see a stack trace and other debug information on the error pages).
Repository: https://github.com/symlex/rest-api
Single-page Application
Step 1: Run composer to create a new project:
composer create-project symlex/symlex myapp
Composer will ask for config values to generate app/config/parameters.yml for you.
Make sure storage/cache is writable so that cache files can be created by the app.
Step 2: Start RoadRunner and MariaDB using docker-compose:
cd myapp
docker-compose up
Info
This configuration is for testing and development purposes only, see comments in
docker-compose.yml for details.
You might need to tweak it if you run Docker with a different user for security reasons.
On OS X, the current release of Docker is really slow
in executing PHP from the host's file system.
docker-compose up -d runs Docker in the background, but you won't see helpful log messages in this case.
Step 3: Let Make initialize the database and build the front-end components for you:
make terminal
make all database
To verify everything is working, run make test.
Tip
You can also use this approach to execute other CLI commands later. Make should be pre-installed in
typical Unix development environments - otherwise you might have to get it first e.g. by installing Xcode
incl. Command Line Tools on OS X or by adding the build-base or build-essential package on Linux.
The Makefile contains a list of all targets.
Repository: https://github.com/symlex/symlex
RoadRunner
Symlex now includes RoadRunner - a high-performance PHP application server - as an alternative to NGINX. It will be automatically downloaded when you build the Docker image.
Info
Our installation instructions for Symlex >= 4.4.0 won't work for previous releases as
they still use NGINX and PHP-FPM. Instead of web and php, there is now a single app
service powered by RoadRunner. If you prefer NGINX, you can use an older
release or copy the previous config to the new release.
Some of our example apps use NGINX as well.
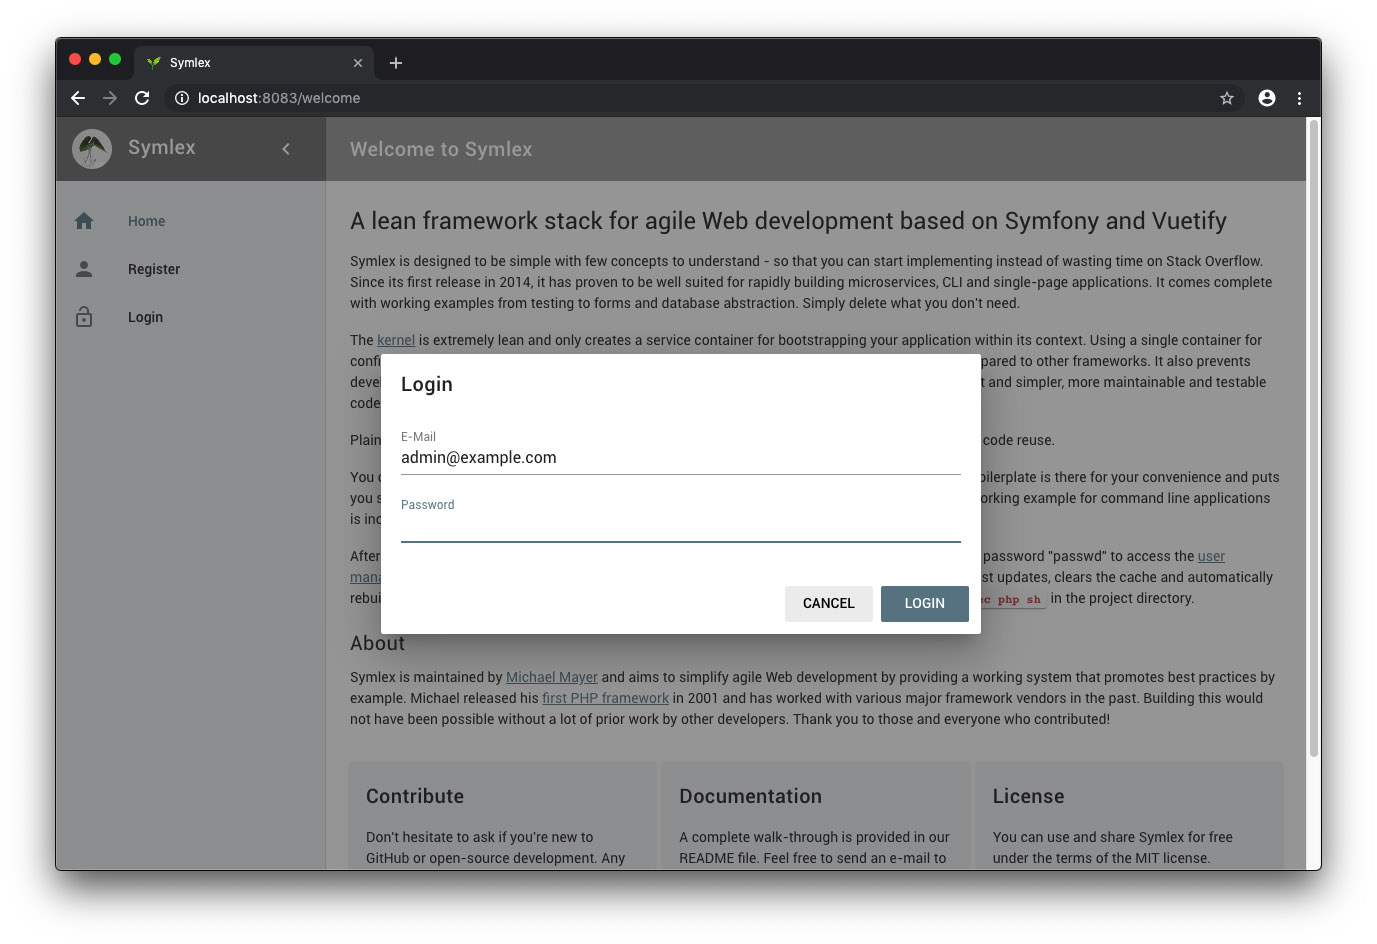
Web UI
After successful installation, open the site at http://localhost:8081/ and log in as admin@example.com using the
password passwd.
Note
If you add localhost-debug to your /etc/hosts and access the site with that, it will load in debug
mode (you'll see a stack trace and other debug information on the error pages).
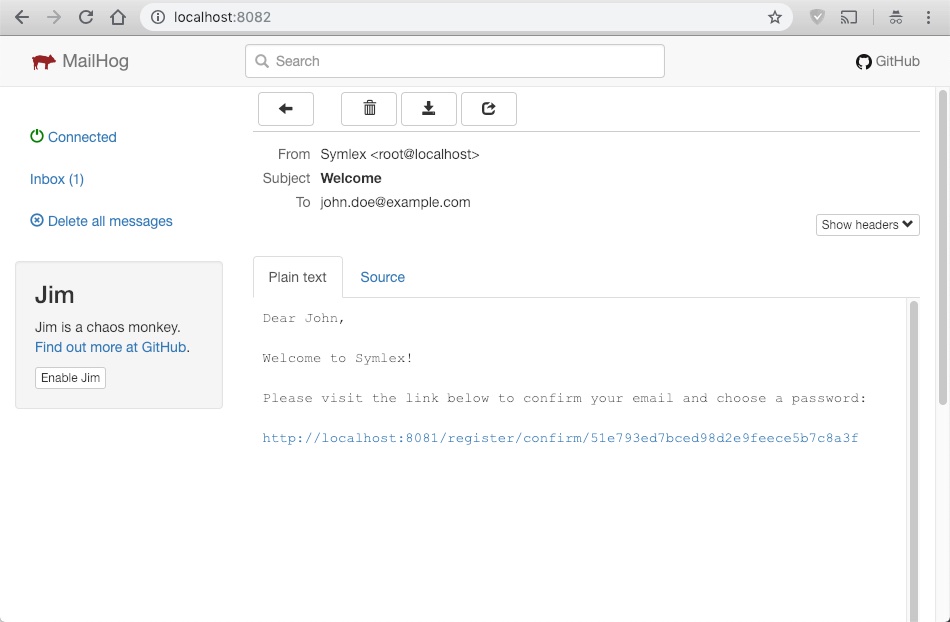
MailHog
The mailhog user interface is available at http://localhost:8082/. It can be used to receive and view mails automatically sent by the system, e.g. when new users are created.